
Want to rock the perfect mid length hair! Achieving that ideal middle part hair style is simpler than you think. With just a few steps, you can transform your look effortlessly. Embrace a balanced and stylish appearance with the right techniques. From selecting the right products to mastering the art of parting, every detail counts.
Discover the secrets to flaunting your mid length locks with confidence. Whether you’re aiming for a casual vibe or a polished finish, this guide has you covered. Say goodbye to hair dilemmas and hello to a chic middle part hairstyle. With these easy steps, you can effortlessly achieve the perfect middle part hair style.
How to Achieve The Perfect Middle Part Hair Style
Step 1: Start with a Fresh Wash
Begin by washing your hair with a fresh, clean shampoo. This step is essential to remove dirt, oil, and product buildup from your hair and scalp. Choose a shampoo that suits your hair type and concerns, such as dryness, oiliness, or damage. Wet your hair thoroughly with warm water before applying the shampoo. Massage the shampoo into your scalp using your fingertips, working it into a lather.
Be gentle to avoid tangling or damaging your hair. Rinse your hair thoroughly with warm water until all the shampoo is removed. Repeat the process if necessary, especially if you have particularly oily or dirty hair. Avoid using hot water, as it can strip your hair of its natural oils and cause dryness. Once you’ve rinsed out the shampoo, follow up with a conditioner to nourish and hydrate your hair.
Read This Blog: 55 COOL HOBBIES FOR WOMEN WHO WANT TO SPICE THINGS UP
Step 2: Towel Scrunch Dry
After washing your hair, gently pat it with a towel. Avoid rubbing vigorously to prevent damage and frizz. Instead, use a gentle squeezing motion to absorb excess water. Start at the roots and work your way down to the ends of your hair. Be careful not to pull or tug on your hair too roughly.
Continue towel drying until your hair is mostly damp, but not dripping wet. This process helps to maintain the natural texture of your hair. Avoid using a rough towel, as it can cause friction and lead to breakage. Consider using a microfiber towel or an old t-shirt for a softer touch. Once your hair is towel-dried, it’s ready for styling.
Step 3: Create the Middle Part
To create a middle part, use a comb or brush. Start by brushing your hair straight back to create a smooth surface. Then, use the end of the comb or brush to draw a straight line down the center of your head. This will divide your hair into two equal sections. Take your time to ensure the part is straight and even.
You can use a mirror to help guide you. Once you’ve created the part, use your fingers to adjust any stray hairs and make sure it looks neat. The middle part is a classic hairstyle that can suit many face shapes and hair types. It adds symmetry and balance to your overall look.
Also Read This Blog : HAIR TONER 101: EVERYTHING YOU NEED TO KNOW
Step 4: Add Texture with Sea Salt Spray
To add texture, use sea salt spray evenly throughout hair. Sea salt spray helps create a tousled, beachy look. Hold the spray bottle about 6 inches away from your hair. Spray evenly from roots to ends, ensuring full coverage. Use your fingers to scrunch the hair gently after applying. This helps distribute the product and create texture.
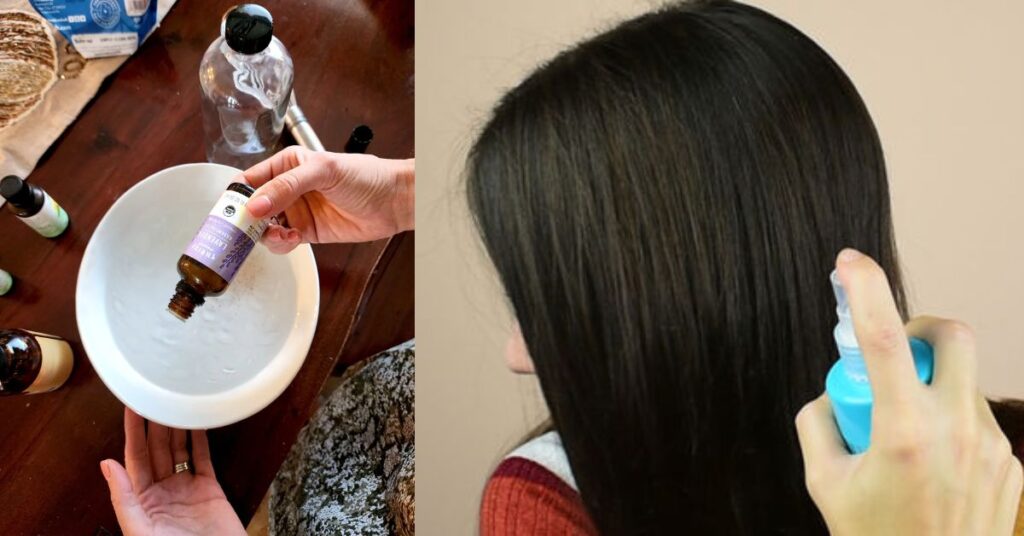
Sea salt spray works by adding grip and volume to hair. It’s great for enhancing natural waves or creating a more textured style. Avoid using too much spray, as it can make hair stiff or crunchy. Experiment with different amounts to find the right balance for your desired look.
Step 5: Scrunch Dry with a Diffuser
To scrunch dry with a diffuser, attach it to your hair dryer. The diffuser helps distribute heat evenly and reduces frizz. Start by setting your hair dryer to a low or medium heat setting. Gently gather a section of hair in the diffuser. Hold the diffuser close to your scalp and move it in a circular motion.
Continue scrunching and drying each section until your hair is mostly dry. Avoid using high heat, as it can damage your hair and cause frizz. Scrunching with a diffuser helps enhance natural curls and waves. It also adds volume and texture to your hair. Take your time and focus on each section for best results.
Step 6: Add Grooming Clay for Texture
To add grooming clay, take a small amount in fingers. Rub the clay between your palms to warm it up. Then, apply it evenly throughout your hair, focusing on ends. Grooming clay helps add texture and definition to your style. Avoid using too much clay, as it can weigh hair down.
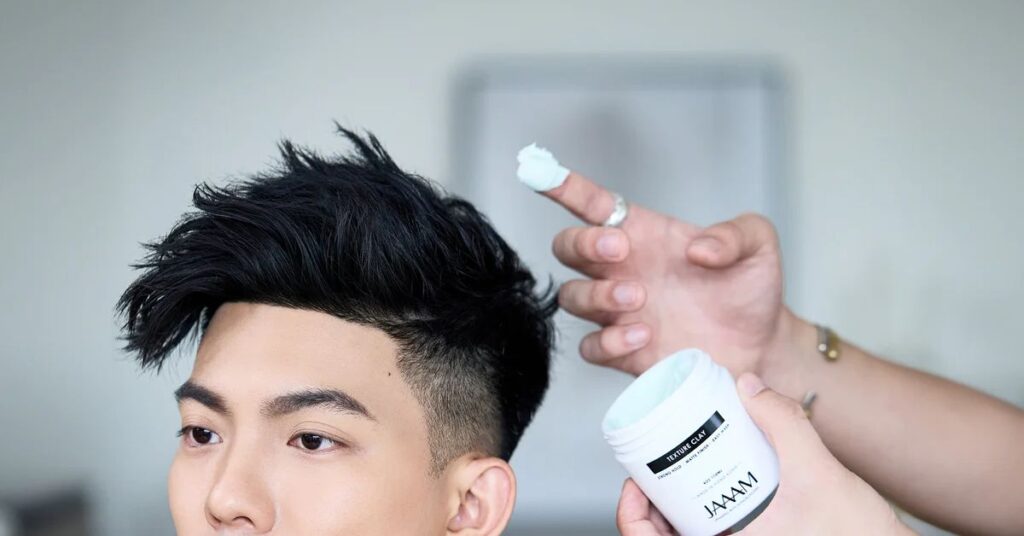
Start with a small amount and add more if needed. Use your fingers to style and shape your hair as desired. Grooming clay is great for creating a messy, textured look. It also provides a flexible hold that lasts all day. Experiment with different amounts and techniques to achieve your desired hairstyle.
Step 7: Optional Volume Boost
For a volume boost, use a volumizing product if desired. Sprinkle it lightly onto your hair, focusing on the roots. Gently massage the product into your scalp with fingertips. Volumizing products help lift hair and add fullness. Avoid applying too much product, as it can weigh hair down.
Focus on areas where you want extra volume, such as the crown. Use your fingers to tousle and fluff your hair for added lift. Volumizing products come in various forms, including powders and sprays. Choose one that suits your hair type and desired style. Experiment with different techniques to achieve your desired level of volume.
Step 8: Admire the Finished Look
Admire your finished hairstyle in the mirror. Take a moment to appreciate the texture, volume, and overall look. Run your fingers through your hair to feel the texture and style. Check from different angles to ensure evenness and balance. If necessary, make any final adjustments to your hair.
Use a light mist of hairspray to set the style in place. Avoid touching your hair too much to maintain the look. Enjoy the confidence that comes with a well styled hairstyle. Show off your new look with pride! Remember to support Poseidon Hair for more styling inspiration.
Frequently Asked Question
How do you get the perfect middle part?
To achieve the perfect middle part, comb your hair straight down the center.
How do you train your hair to the middle part?
Train your hair to the middle part by consistently parting it.
How do I make my middle part hair evenly?
Make your middle part hair even by using a comb.
How do you get the perfect parting in your hair?
Get the perfect parting by ensuring it’s straight and centered.
Is a middle part attractive for guys?
Yes, a middle part can be attractive for guys, enhancing symmetry.
Final words
The final step in achieving the perfect hairstyle is crucial. The conclusion wraps up the entire process, summarizing the key points and outcomes. It serves as a reminder of the goal and encourages reflection on the journey. The conclusion often includes a call to action, inviting viewers to try the hairstyle themselves or engage further with the content creator.
It provides closure to the tutorial or video, leaving viewers satisfied and informed. A well crafted conclusion leaves a lasting impression and encourages viewers to return for more content. Remember to thank the audience for watching and express appreciation for their support.

Grayson, with 5 years of expertise in fashion, brings unparalleled creativity and insight to our website. His keen eye for trends elevates our content to new heights.